How to Shrink a Hole
A while back, I wrote about some methods for enlarging holes — for instance, if you wanted to fit larger tuners or a larger control pot into a hole that had housed something smaller.
But what if you want to go the other way? What if you want to remove some hardware that’s bigger than the stuff being installed? What if you're installing hardware that needs a smaller hole than the one that's currently in your guitar?
If you’re lucky: Conversion Bushings
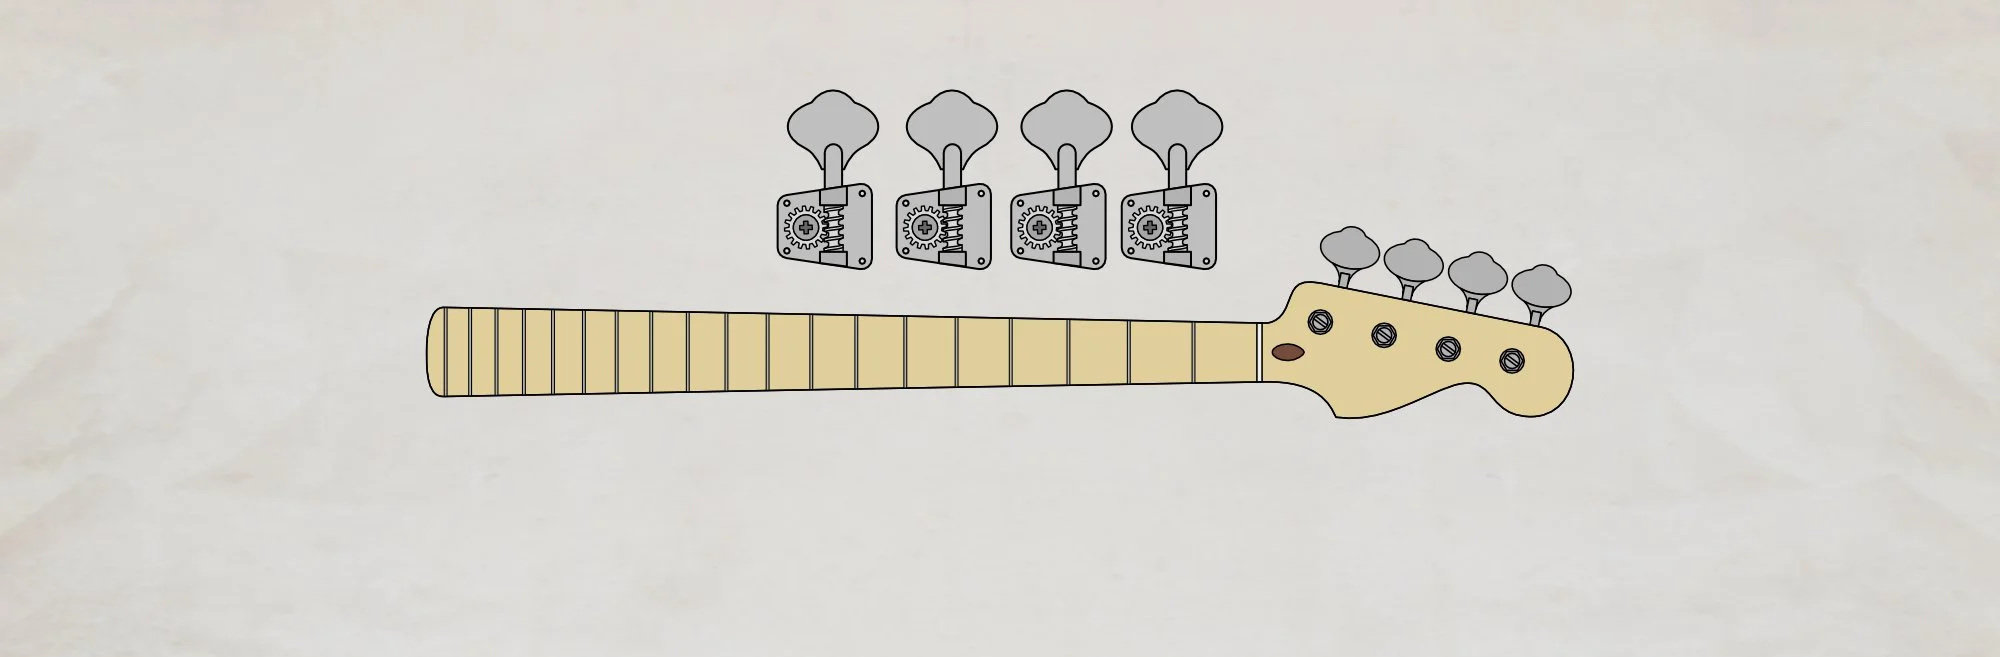
Because many guitarists like to replace modern tuners with ones that look a little more vintage, it’s possible to buy tuner bushings to adapt larger peghead holes to accept a more narrow tuner post.
If you have a headstock with a 10mm or a ⅜” hole, you can get a bushing that will fill the hole and comfortably accept a ¼” vintage-style tuner post. Brilliant.
Stewart McDonald is, as usual, a good place to start for these. Check out their conversion bushings.
The rest of the time: Plugging and Re-Drilling
For less common replacements, however, things are a little more complicated. We’re talking about plugging the hole with some wood and re-drilling a smaller hole in that plug.
Sometimes this is easy. If you’re able to get a dowel of the right size (or close enough to ‘adjust’) you can often use that.
Some cautions on using a dowel, though: Because the grain direction of commercial dowels tends to run along the length of the dowel, when you’ve cut off a ‘plug’ from it, it’s the end-grain that’s exposed along its ‘face’. This can be problematic if you have to put a clear or tinted finish over it because it will look different to the grain around it. Also, drilling into the end grain can sometimes be tricky; causing the bit to wander. All of that said, it’s by far the easiest way to get this done.
Cutting your own plug
Depending on the size of the hole you’ve got to fill, you could use a plug cutter to make a plug. The big advantage is that you can choose a piece of wood with grain to match the plug’s surroundings. And, that grain won’t soak up finish or dye like end-grain can (which can make it look out of place). You can’t always get a plug cutter the size you want, though — or at least, I can’t 😉 — so other means may be called for.
Another, and more ‘involved’ option is to make your own dowel. Sometimes, I’ll use a wood lathe to actually turn a piece of timber to the right size. That’s not something everyone has the luxury of doing, though.
I’ve frequently (more frequently) done this by hand too — it’s quicker than setting up the lathe if I just need one plug. Cut a piece of wood into a long, square-section a little larger than your intended plug. Then, use a sharp chisel to ‘round’ it off. Take off the four corners, then take off the eight new corners, and so on, successively removing corners until it’s pretty round. Some work with sandpaper will smooth things out towards the end. With a little care, it’s definitely possible to get yourself a pretty good round section for plugging holes.
The plug used in the image above was cut by hand with chisels and sandpaper (you can just see a sliver of the flat section . Incidentally, It’ll be completely covered so I’m not trying to match grain here.
Glueing a wooden plug
Make sure there’s no finish on the walls of the hole. If so, try scrape as much off as possible (actually, this is something you should do before you size your plug to fit but for the purposes of writing this article, it works better here — you do it first).
You can also score the sides of the plug to give some shallow grooves to aid the glue’s grip.
Make sure your plug doesn't fit so tightly that it squeezes most of the glue out. I’ve done this and learned the hard way. Also, you obviously don’t want gaping gaps between the two. A snug press fit that stays in place is what you’re aiming for.
Cutting a plug to length
To cut before it’s glued or after? That’s the question. You can glue in and return later with a flush-cut saw. For some applications, this would be fine but you’ll often want to clean things up afterwards anyway.
Personally, with most plugs — and certainly with larger plugs — I tend to cut very roughly to length first (so just a little plug will be left proud of the surface). After the glue’s cured, I very carefully trim off the excess with a very sharp chisel.
If you’ve no finish to worry about, you can use a sanding block to get a nice flush surface. You might not have this luxury if you’re dealing with a finished instrument, however,
One last cutting tip: If you’re going to be chiselling, do so before you re-drill and make a hole through the centre of your plug. Otherwise, you could end up breaking off some of the (now much more narrow) wall off the remaining plug ‘ring’.
Finding the centre for re-drilling
Sometimes you can just eyeball it and pick the centre because it doesn’t really matter if you’re off by a fraction. Much of the time, the plug’s going to be covered by a bushing or knob so it’s fine if you’re a little out.
Where it is more important, I’ll try to mark the centre before I glue in each plug.
I usually use a lathe spindle centre-finder for this. I’ll mark each one and glue them in. I can use a sharp scribe to ‘indent’ the centre point if I need to chisel off some excess from the plug — the sharp indentation will poke far enough into the wood to keep my centre mark after chiselling.
All of this is a bit involved for DIY but well within most people’s ability if they have some tools and patience. Have a go or find yourself a friendly, talented, good-looking repairer to do it for you. 😉
Hit reply to reply to a friendly, talented, good-looking repairer.
P.S. For completeness (and because someone will just email me about it if I don’t mention it), I am aware of another method for making your own dowels/plugs. A hard steel plate is drilled with a number of holes, each a little smaller than the last. You can hammer a roughly sized piece of wood through the first hole and it ‘shaves’ the sides to round it. Repeat with successive holes to attain a round plug of your desired size. I didn’t mention this in the main body because I’ve never done it. I admit it sounds intriguing, though, and probably will get around to trying it eventually.
This article written by Gerry Hayes and first published at hazeguitars.com