Fender Bi-Flex Truss Rod Nut Repair
Whenever I talk about adjusting Fender guitar truss rods, I try to emphasise the importance of the correct size allen wrench.
Now, this applies to any truss rod that uses a hex-socket for adjustment but especially—really super especially to those guitars with the Fender Bi-Flex truss rod. You know the one—it’s adjustment nut is hidden away beneath a wooden (walnut) dowel and you access it via a narrow hole at the headstock.
Fender use a ⅛” allen wrench to adjust these. Problem is, that’s a relatively small wrench and the ‘flat’ surfaces of the wrench and socket aren’t huge. It’s annoyingly easy to ‘wear’ these flat surfaces so that a wrench no longer grips it.
Allen wrenches that don't fit snuggly, or are themselves a little worn, can wear down your hex edges and leave you with a ruined truss rod nut.
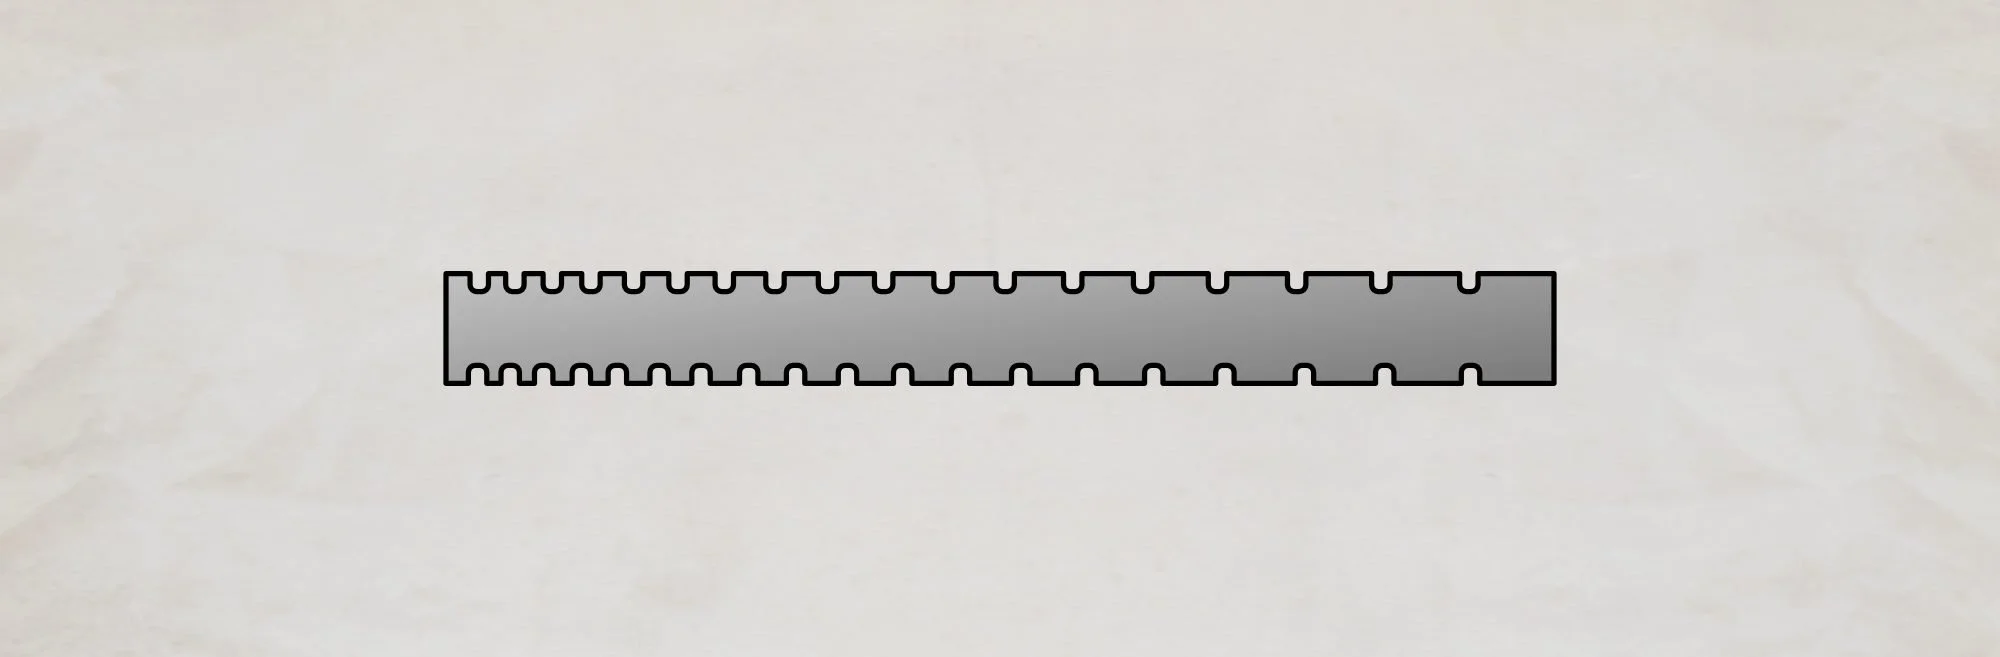
Worn Fender Truss Rod Nuts
You can see what happens in the illustration above. Let’s face it, a circular socket isn’t the most useful thing when it comes to turning a nut.
When this happens, you end up with a truss rod that can’t be adjusted. That’s less than ideal when you’re trying to properly set up an instrument.
Removing Bi-Flex Truss Rod Nuts
It’s possible to remove that walnut plug and to replace the nut. It’s not super difficult but you do need to be careful because, hot!
Yep, we use heat to soften the glue holding the plug in place. Then we can remove it.
Here’s how:
Steps For Fender Truss Rod Nut Replacement
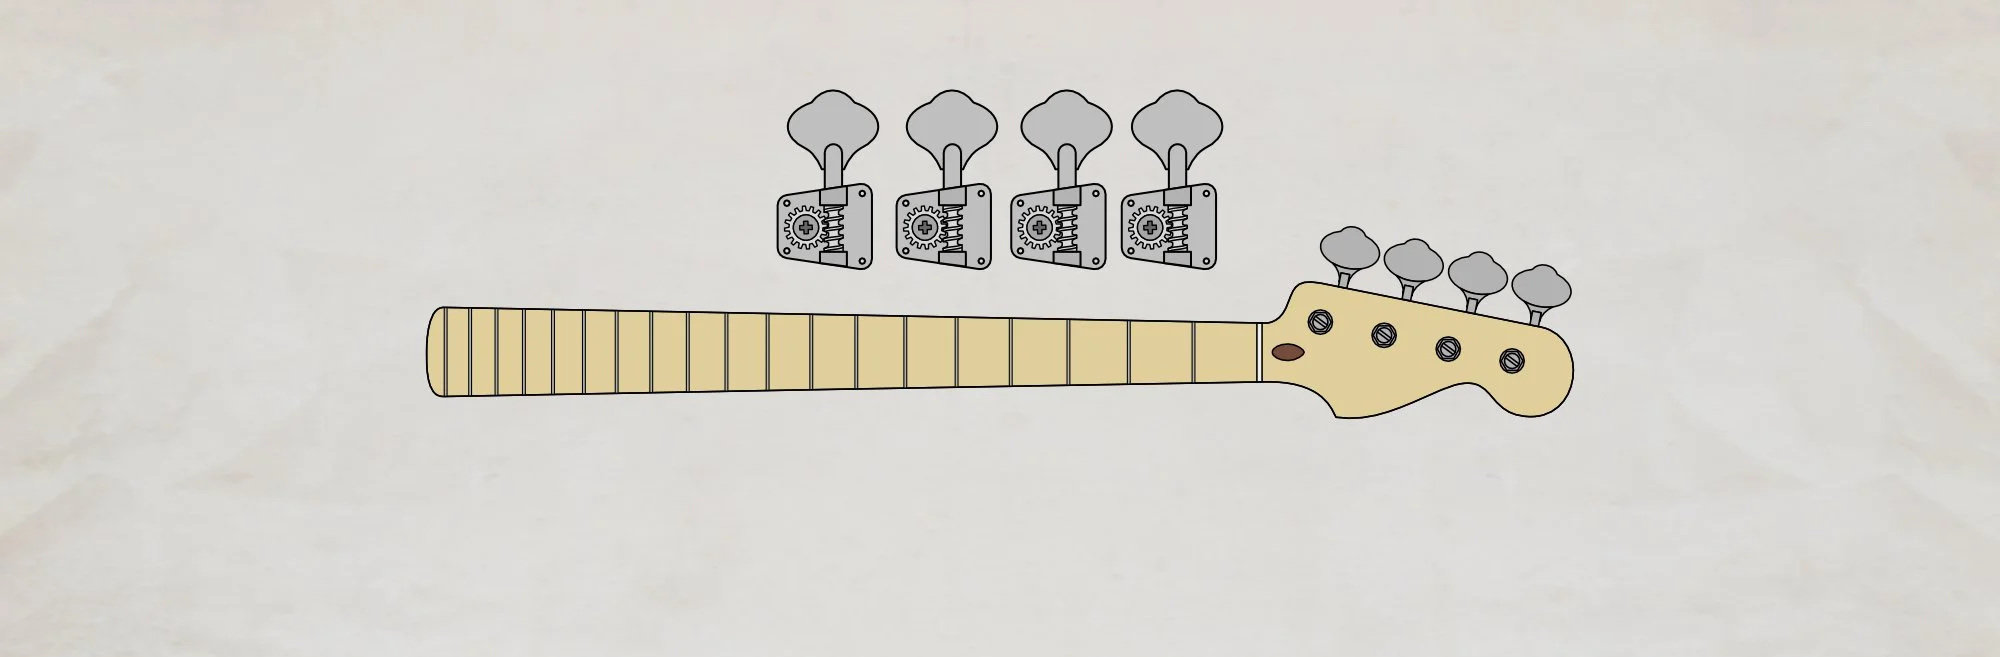
First off, strip the headstock hardware. Remove the tuners and string trees. Do this so you can get easy access to the plug. Otherwise, you’re trying to work at an angle and that’s a recipe for burning stuff. Next up, use a sharp knife (Exacto-type) to score the finish around the plug.
Protect the face of the headstock. I just wrap some foil around it a couple of times.
I use a soldering iron. The bit fits into the hole in the walnut plug. Be careful if you’re doing this. I find that it’s not necessary to make contact—the soldering iron doesn’t need to touch the wood.
This is tricky so be careful. The heat from the iron will penetrate through the walnut and soften the glue. It should be ok if the iron taps off the walls of the hole occasionally, but don’t let it remain in contact or the wood will scorch.
It doesn’t usually take too long for the glue to soften. Insert an allen wrench and ‘loosen’ the nut. Turn it counter-clockwise and the nut will eventually butt against the inside of the plug. If the glue’s soft enough, the nut will push it out*.
*A quick note on this: This is very good reason to remove a nut that’s worn before it goes too far. Stew Mac’s Gripper wrenches (see below) can help but sometimes you end up with a completely worn nut and you have to get the plug out by more invasive means.
When the plug protrudes enough, you can grab it with a needle-nosed pliers and pull it out. Be careful—it’s easy to crush or break the plug at this point.
Behind the plug is a washer (keep it).
Behind that is the nut. Fish it out.
New truss rod nut time. On the American Standard, the nuts have a ⅛” hex socket and a 10/32 thread. Lubricate the threads of the new nut with a little (I mean a little) Vaseline and screw it back in. Don’t forget the washer next and follow up by reinserting the plug with a smear of glue.
Depending on the guitar, I’ll sometimes do some finish touch-up.
Help Prevent Worn Truss Rods
The fact that the adjustment nut is buried an inch deep means that it can be awkward to reach. Sometimes the short leg of your allen wrench won’t reach and you have to use the ‘ball’ end. This makes it harder to get good, deep purchase into the hex socket (and to get decent leverage to actually turn it). Check your guitar stores for a special allen wrench, made with a longer leg, especially for this job.
Stew Mac offers a ‘Gripper’ wrench. This has a hex head that tapers—it gets wider along its length. The idea is that, as it’s inserted, the wider part might be enough to grip the socket.
This is pretty handy but, if your adjustment nut has started to wear enough that a standard wrench won’t grip, I’d really recommend replacing it. Use the Gripper wrench to remove the nut and install a new one. Otherwise, you risk wearing the nut to the point where even the Gripper won’t work.It should be obvious, but don’t force a truss rod. If it’s not adjusting easily, stop and regroup. Try slackening off the strings. If that doesn’t work, you could try forcing the neck into a slight back-bow—using clamps and a brace (second part of this article)—and just tightening the rod to hold it (the rod’s not doing the work to get there). The Rickenbacker Truss Rod Trick can also help.
Let me just repeat, don’t force anything. Check with your trusted repair person if you have any doubts. Remember, this can happen to any truss rod nut—not just ⅛” nuts, not just Fender, and not just hex/allen nuts. I've had to cut rounded Gibson nuts off because people didn't use the right tools too. Be careful.
This article written by Gerry Hayes and first published at hazeguitars.com